Shortly after purchase I knew I needed a radar detector for the car. I already owned an Escort 9500i, so I decided to get the built-in model -- 9500ci for the BMW. I purchased the unit directly from Esort, and it was installed in Anything Wireless in Morgan Hill, California.
I've already been using the Escort 9500i since I bought my M3, so I'm already familiar with it. I don't intend to give a review because you can find that on the web, instead I'll just tell you about the differences between the 9500i and 9500ci.
The 9500ci is not a portable unit. Instead, it is a professionally installed unit. The 9500ci contains all of the features of the 9500i, plus the following:
- Directional alerts for lasers. (Tells you the direction where the laser is coming -- front / rear.)
- Laser jammer
- Latest anti-detection technologies (beyond 9500i)
- Preloaded with a database of safety camera locations
- K-band traffic message compatible
- Auto-detect locations of traffic monitor devices and mark them so they don't cause false alarms
- Mark locations of photo-radar while receiving a radar signal (bug fix over 9500i)
- SWS Compatible (Safety Warning System). Recieves traffic alert messages along the highway from compatible K-band radar traffic monitoring devices and law enforcement vehicles (a VERY cool feature).
Links:
Installation:
The installation was flawless and exactly to my specifications. You cannot see a
wire anywhere.
Sensor/component placement:
- Front laser sensors/jammers were placed behind the front air grill.
- Front radar sensors were placed behind the front bumper (bumper does not block signals)
- Rear laser and radar sensors were placed on the license plate frame.
- GPS receiver placed in the front-left corner of the dashboard
- Display and controls placed in the ash tray.
- Warning LED placed on left side of dashboard.
- Speaker placed under dashboard, out of sight.
- Main control unit -- who knows where they put it.
Pictures:
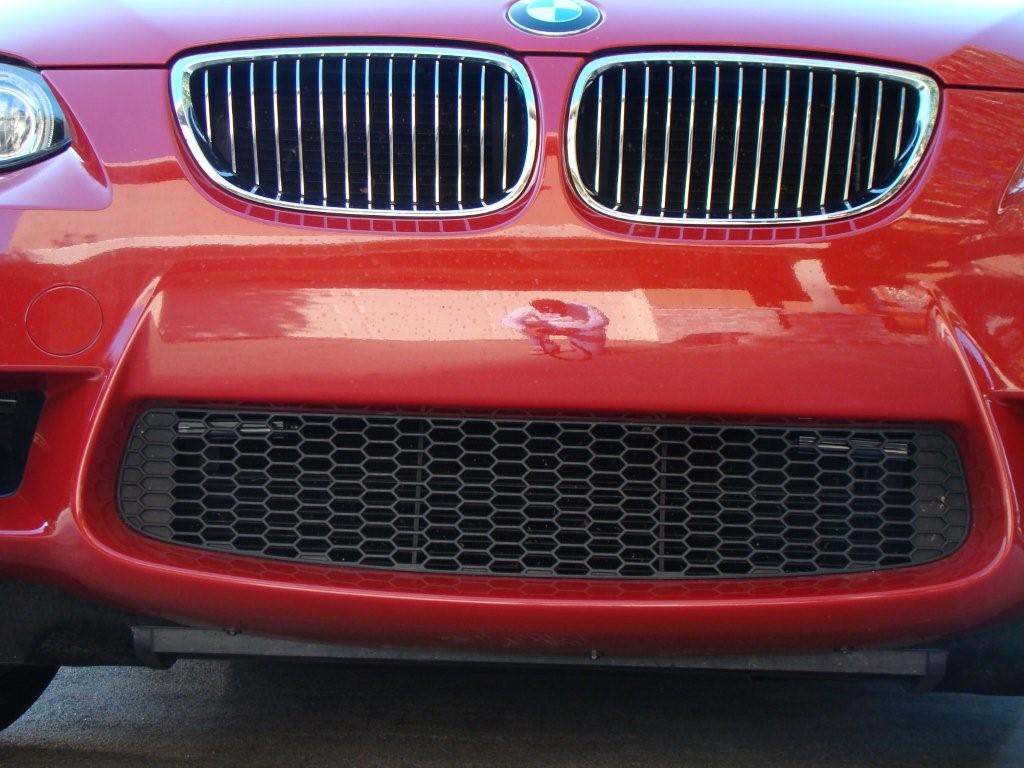
Shows front laser sensors/jammers in top corners of the lower air intake.
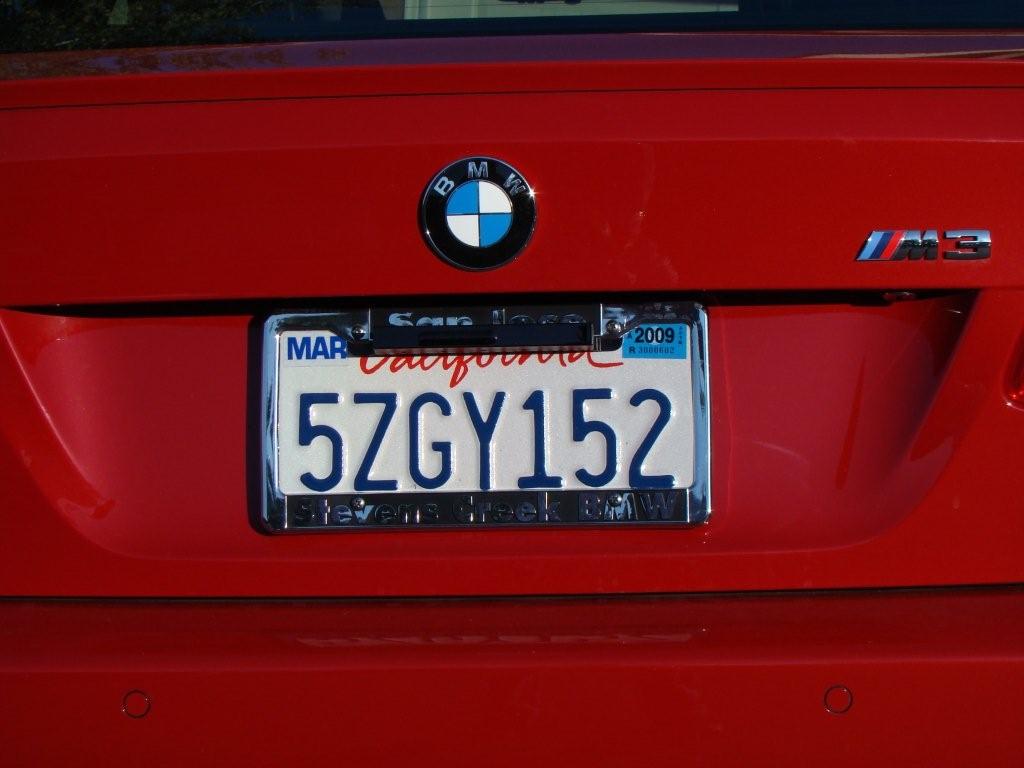
Shows rear laser/radar sensors/jammers on the license plate frame. I may have them move this to the bottom of the license plate frame.
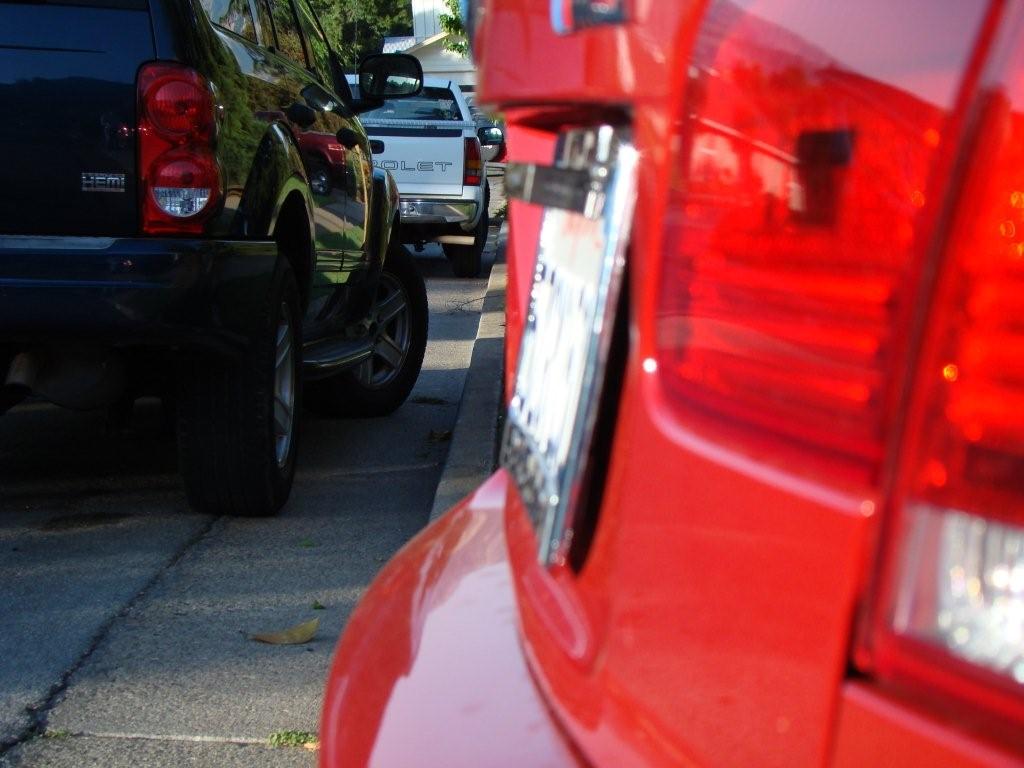
Shows the thickness of the rear sensors/jammers. Sorry for the blurry picture.
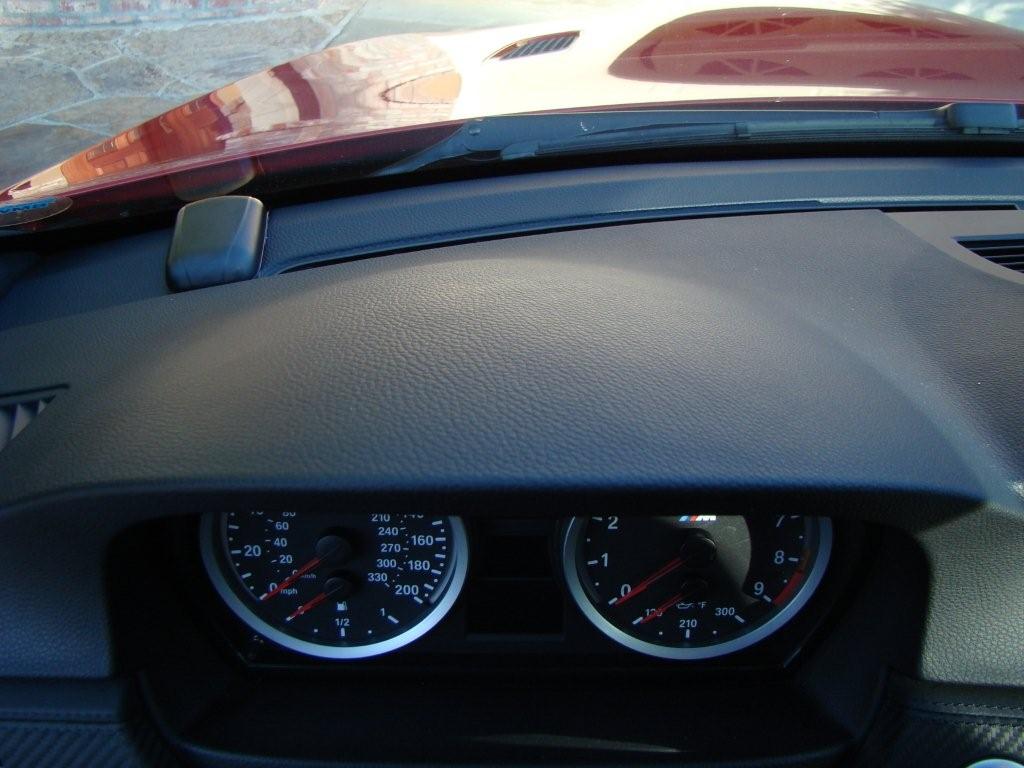
Shows the GPS receiver location.

Shows the GPS receiver from a distant view. Warning LED is shown in bottom-left corner -- just below vent controls and carbon-leather trim.
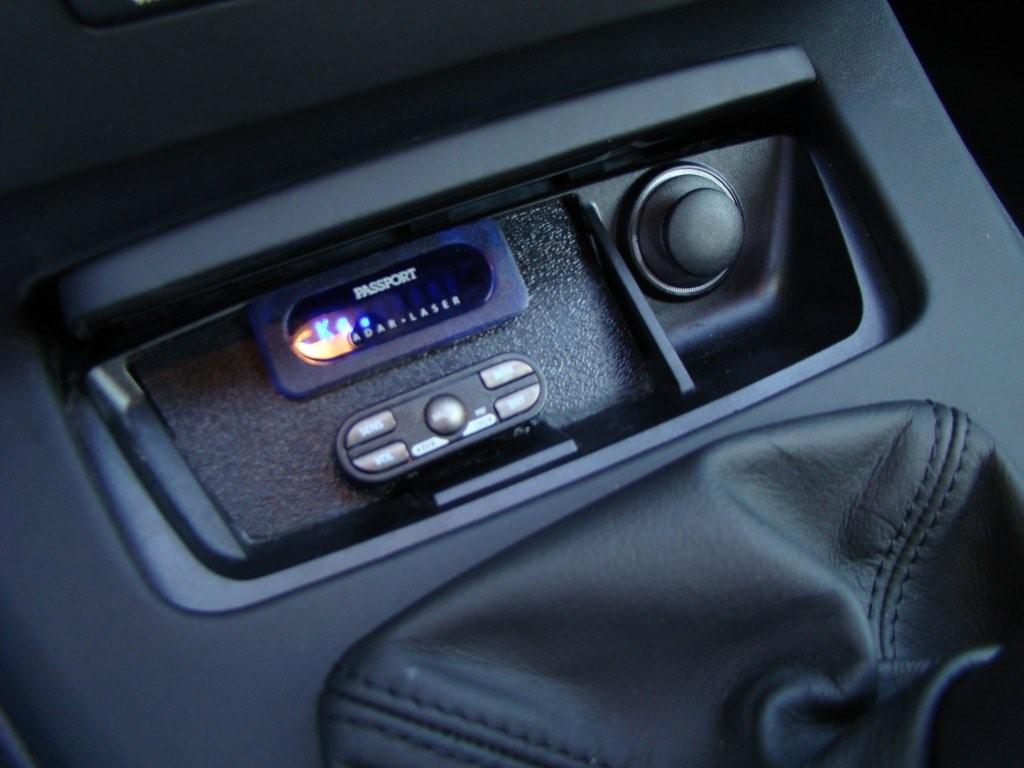
Close-up view of ashtray controls.
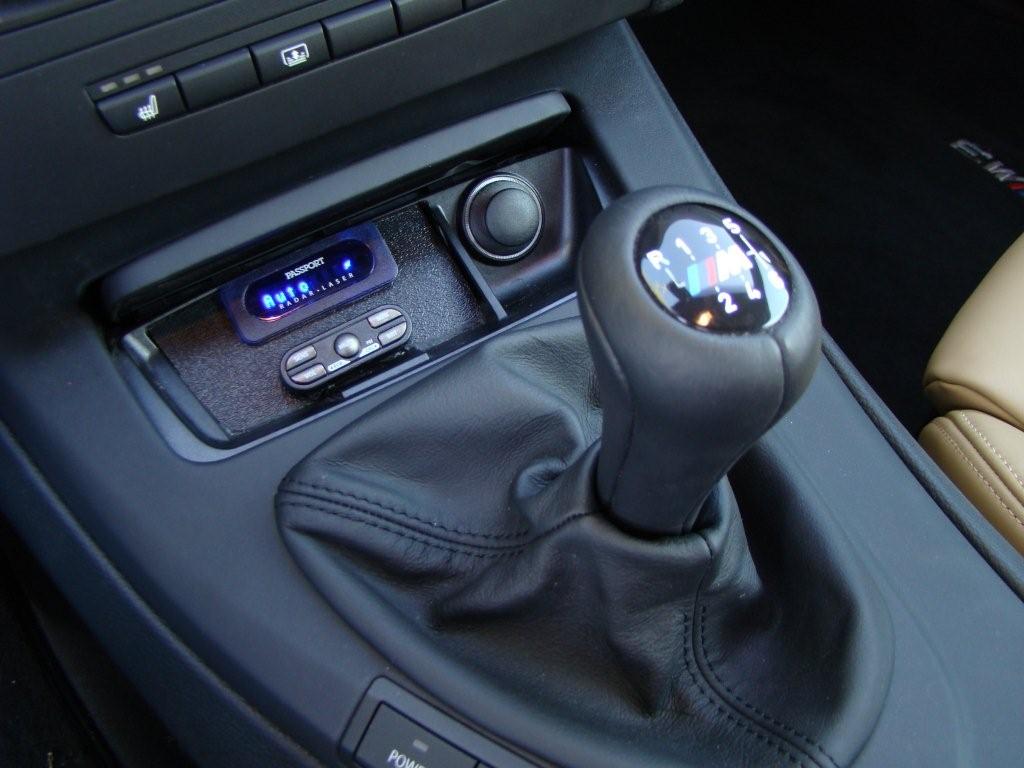
Distant view of ashtray controls.
